Hello
my scrapping friends,
Christmas
is just a few days away. The little kids are getting excited and parents are double
checking the Christmas lists to make sure all the presents are under the
tree. The song,” I 'm dreaming of a
white Christmas” is playing in many homes.
Well not mines, although I am a New Englander snow is my least favorite. I do love watching the flakes fall.
In
My Creative Classroom, I took a class named “It's a Sparkly Spellbinders
Holiday!”, and one of the lessons was making this beautiful snowflake wreath.
If I had to dream of snowy Christmas, this is
how I would see it.
Directions:
-First die-cut your snowflakes, I used the Grand Caliber (it was easier to cut many
flakes and saved time) with various spellbinder snowflakes dies (see list below)
using grunge paper, chipboard, corrugated cardboard, cardstock, and dictionary
paper (Crafty Chronicles).
**Note** I
had to run the Grunge Board and chipboard through my grand caliber 2-3 times
for it to cut completely
-Crafty Chronicles attached to card stock (to give
thickness to paper snowflakes)
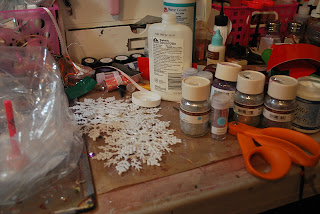
-Add some shimmer to the snowflakes, brush/dip
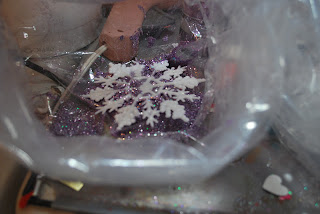
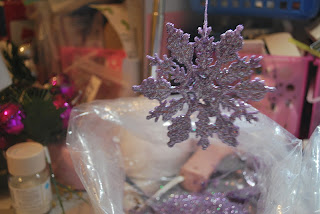
glitter glue over the grunge boardchipboard, corrugated cardboard and plastic snowflakes and dip or sprinkle them with
glitter. I dipped my snowflakes, attempting to contain the glitter...NOT...lol
-I mixed
several colors to make my custom color.
- Let the glue dry
-Wrap the
cheesecloth around the Styrofoam wreath.
Layer the cheesecloth until it completely covers the Styrofoam. **Sorry I did not photograph this step**
-Add 20’
piece of ribbon long and wrapped it around the wreath too make a hanger. You can use the glue gun or pins to hold in
place
-After the
snowflakes dry, arrange or stake them you build a unique look
-Add
rhinestones, gems, pearls with hot glue gun or I-Rock
-I used copic markers to color the clear gems
-Arrange
die-cut and embellished snowflakes to the wreath I used pins and a
hot glue
gun.
**Note**to
add some dimension to the snowflakes, layered similar buttons on the wreath
with hot glue and then glued the snowflakes on top of the buttons.
Recipe:
Styrofoam Wreath
1” Cheesecloth
Grand Caliber
Spellbinders Dies:
-Create a
Flake 1,2, and
-Snowflake
Wonder
-Snowflake
Pendant-2010
-Ironwork
Motifs
4-
4-Corrugated Cardboard
4-ChipBoard
4-White Cardstock
Donna Salazar Crafty Chronicles
Metal
White Plastic snowflake ornaments
Glitter (M.S. Purple sapphire,amethyst, sugar plum, hemate,chariote,bubble
gum, cotton candy,sugar cube, sterling),( D.S. Mixed berries) and Rose grain
Glitter Glue
Ribbon
Copic markers
Pearls and
Rhinestones,
Quilt Pins with bead heads
Hot Glue Gun
I-Rock
3D Dots or Foam Tape
Adhesive
I hope you enjoy. If you have any questions send me a quick
email
~~Netta~~


No comments:
Post a Comment