purple background

purple background

Showing posts with label Rosette Flower. Show all posts

Friday, April 13, 2012

Double Diva's Diaper Bassinet/Cake

Hello my crafty friends

I would like to share with you, Bassinet/Diaper Cakes my sister and I made for my cousins Double Diva’s baby shower for Princess Amaya and Prince Troy. 


My sister Athena (Toosie) and I have been busy learning different styles of diaper cakes.  We started these diaper cakes as the three tier cake.  Then I had a big desire “idea” to try the bassinet/stroller cake.  Boy did I underestimate the workload that goes into these.  Through trial and error of rubber bands, velco, double sided tape and the glue gun, we have the technique down.


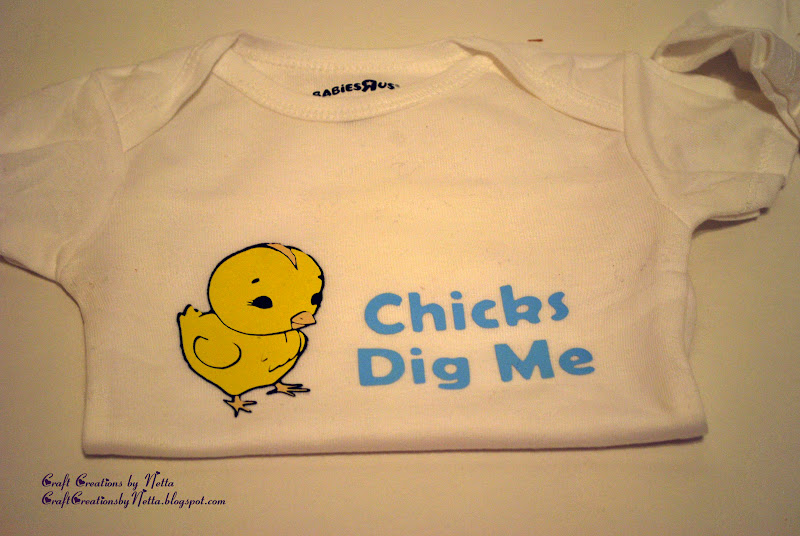
Again we added extra perks (outfits, customized onsies, baby towels, burp clothes and blanket) in the cake, so I reminded her to open it.

Side View


 Rosette Wheels


Recipe: Diaper Cake
-Cricut CTMH-Art Philosophy and Elegant Edges
-Cricut Expression2 and Gypsy
-14’ Cake bottom
-Rolled Diapers (newborn, size 1, size 2 and size3)
-Rolled Burp Towel
-Rolled Baby Towel
-Rolled Baby Blanket
- Rolled Baby Socks
-Ribbon
-Tissue Paper
-Baby Shower Favors (umbrellas, pacifiers, rattles and bottles)
-Treat bags (small and medium)
-Lollipop sticks
-Card Stock (metallic blue and pink, cream and bright turquoise)
- Chalk and Mix’d Media Inks
-Embellishments

Special thanks to my sister Athena for all her hard work and pulling all-nighters to complete this project, three down two to go..lol.  Also to my son Antoney for this photographer skills, little helper my niece Taraja and last but not certainly not least my husband Hollis for his countless run to ACMoore or Joann.

I hope you enjoy. If you have any questions send me a quick email.
~~Netta~~

Wednesday, December 7, 2011

All About Flowers Series

Hello my scrapping friends,

I am really enjoying my All About Flowers class over at My Creative Classroom.  This week was all about paper flowers.  These flowers are ideal for all crafters, there is endless ways of creating paper flowers from cutting cardstock, using punches, die cutting machines or spellbinders to name a few.


I am finishing up with the All About Flowers Series, and it has been a lot of fun learning new techniques
Folded Rosettes 
Rolled Spiral Flowers (cardstock and felt)
Photo Corner Flower
Directions
-Punch small circle
- cut one 6x6 piece for this flower 2x2 squares
-Take the 2x2 squares and cut in1/2 diagonal corners
-Ink the edges
-Fold each point to the opposite mid-point (alternate color) **NOTE** The 3 different types of petals--you will need 8 petals 4 one type 4 he opposite
-Fold the bottom the opposite direction and curl end
-Add the first layer in a East-West-North-South position to small circle
-Add the second color in between the first layer stagger from first layer
-Add the spiral flower to the center
-Add the diamond dust on the petal edges.
Star Flower
Rolled Die Cut Flower
Dictionary Flowers
Recipe
4” x 4” scrap of cardstock or patterned paper
Felt
Donna Salazar Crafty Chronicles
Spellbinder  spiral blossom and rose creation
cuttlebug
Button or Bling for flower center (optional)
Strong Liquid glue (i.e. Hot Glue, Beacon’s 3 in 1, Fabri-Tac, Zip
Dry, Craft Glue Dots)'
Epiphany Crafts Tool with Matching Buttons or Bubble Caps
Stamp image
distress inks 
Spritz
pencil
stickles crystal
5 flowers smallest to largest
Scissors
Glossy accents
Cardstock paper flowers using die cuts and paper strips
tweezers
chalk ink brown and lavender
Diamond Dust Glitter
Scissors
12x12 trimmer
Glossy accents
Brads

I hope you enjoy. If you have any questions send me a quick email

~~Netta~~

Tuesday, October 18, 2011

Glittery Garden Class

Hello all,


 I have taken a few classes over at My Creative Classroom and have a couple more to go.  I love their format for the classes and having that deadline has given me that extra push to finish my projects.  
In this Glittery Garden Class by Donna Salazaar, we created a Girlie Grunge mini that shows off different techniques to make a glittery garden.


Page 8  Page 8 Big Bunched Up Blossom

Page 7 3-2-1 Cupped Flowers with Double The Fun Embellies


Page 6 Mixed Media Flowers with Ruffled Lacey Journal Spot 


Page 5 Cute As A Cupcake Flowers with Easy Peasy Flowers


Page 4 Easy Inky-Painty Carnations 


Page 3 Super Chunky Rolled Roses with a Paper Ruffle (Coffee Filter and Crete Paper Flowers)


Page 2 Running Stitch Rosettes 


Page 1 EFG Flowers Emboss & Fairydust Glitter and Easy Peasy Glittery Flowers


Cover Page techniques  Double Butterfly  Shabby-It


Recipe:
-Artistic Paper “Blank Canvas”
-Artistic Paper “Antiquities 6x6” and “Spring In Bloom 6x6”
-Artistic Paper “Journal Cards”
-Antiquities Ribbons
 -Crafty Chronicle Vol. 2
-Spellbinders (Labels Twenty , Lacey Ovals, Donna Salazar’s- -Creative Pages, Fanciful Flight, Rose Creations, and  Carnation Creations)
-Smooch Spritz (River Mossy , Caramel Latte, Green Olive, Sea Breeze , Pralines & Cream , Mixed Berries , Tea Party,  Ice rink, Wild Berries, Cashmere and Evergreen)
-Glue Gloss
-Fairy Dust Glitters (Sugar Shimmer , Pralines & Cream ,Mixed Berries)
-Coffee Filters
-White Crepe Paper Streamers
-White Paper Cupcake Liners
-Ribbon Flowers
-Pearl String
-Tulle
-Variety of Mix’d Media Inx, pigment ink and chalk inks
-White and Clear embossing pads
-Distrezz-it-All


I hope you enjoy.  If you have any question send me a quick email
~~Netta~~

Friday, May 6, 2011

Tim Times Ten Challenge-Day 9

How high can you go? Today's challenge-Day 9 is to create a dimensional tag. At least two elements must lift up off the page. The edges of the tag should be inked. At least one dimensional flower and 3 buttons should be incorporated in the design.
Here is my take on the challenge:
Rosette Flower Tag
Rosette tag

Close up the rosette flower and layers

Side View

distress background

Recipe
Donna Salazar: Spring in Bloom cardstock
Brazzil Lavender cardstock
MS Scoring Board
Prima Sculpture Flowers
Making Memories Noel Gem Buckles
Tim Holtz Distress Ink-Old Paper, Vintage Photo and Worn Lipstick
Colorbox Chalk Fluid Ink-Orchid
Ribbon and Buttons from my stash

I hope you enjoyed Day 9 Tim Times Ten Challenge, go by Stampin Dymonz Creative Space to see more great entries.

Thank you for stopping by. Stay tune for Day 10, one more tag to go…
~~Netta~~

My Creations

LinkWithin

Related Posts Plugin for WordPress, Blogger...