purple background

purple background

Showing posts with label Class Projects. Show all posts

Tuesday, December 20, 2011

SnowFlake Wreath

Hello my scrapping friends,

Christmas is just a few days away. The little kids are getting excited and parents are double checking the Christmas lists to make sure all the presents are under the tree.  The song,” I 'm dreaming of a white Christmas” is playing in many homes.  Well not mines, although I am a New Englander snow is my least favorite.  I do love watching the flakes fall. 

In My Creative Classroom, I took a class named “It's a Sparkly Spellbinders Holiday!”, and one of the lessons was making this beautiful snowflake wreath.  
If I had to dream of snowy Christmas, this is how I would see it.


Directions:
-First die-cut your snowflakes, I used  the Grand Caliber (it was easier to cut many flakes and saved time) with various spellbinder snowflakes dies (see list below) using grunge paper, chipboard, corrugated cardboard, cardstock, and dictionary paper (Crafty Chronicles).
**Note** I had to run the Grunge Board and chipboard through my grand caliber 2-3 times for it to cut completely
-Crafty Chronicles attached to card stock (to give thickness to paper snowflakes)
 -Add some shimmer to the snowflakes, brush/dip glitter glue over the grunge boardchipboard, corrugated cardboard and plastic snowflakes and dip or sprinkle them with glitter.  I dipped my snowflakes, attempting to contain the glitter...NOT...lol
-I mixed several colors to make my custom color.

- Let the glue dry


-Wrap the cheesecloth around the  Styrofoam wreath. Layer the cheesecloth until it completely covers the Styrofoam.  **Sorry I did not photograph this step**
-Add 20’ piece of ribbon long and wrapped it around the wreath too make a hanger.  You can use the glue gun or pins to hold in place 


-After the snowflakes dry, arrange or stake them you build a unique look
-Add rhinestones, gems, pearls with hot glue gun or I-Rock

-I used copic markers to color the clear gems

-Arrange die-cut and embellished snowflakes to the wreath I used pins and a
hot glue gun.
**Note**to add some dimension to the snowflakes, layered similar buttons on the wreath with hot glue and then glued the snowflakes on top of the buttons.


Recipe:
Styrofoam Wreath
 1”  Cheesecloth
Grand Caliber
Spellbinders Dies:
  -Create a Flake 1,2, and
 -Snowflake Wonder
 -Snowflake Pendant-2010
 -Ironwork Motifs
4-Tim Holtz Grunge Board
4-Corrugated Cardboard
4-ChipBoard
4-White Cardstock
Donna Salazar Crafty Chronicles
Metal
White Plastic snowflake ornaments
Glitter (M.S. Purple sapphire,amethyst, sugar plum, hemate,chariote,bubble gum, cotton candy,sugar cube, sterling),( D.S. Mixed berries) and Rose grain
Glitter Glue
Ribbon
Copic markers
 Pearls and Rhinestones,
Quilt Pins with bead heads
Hot Glue Gun
I-Rock
3D Dots or Foam Tape
Adhesive

I hope you enjoy. If you have any questions send me a quick email

~~Netta~~


Tuesday, October 18, 2011

Glittery Garden Class

Hello all,


 I have taken a few classes over at My Creative Classroom and have a couple more to go.  I love their format for the classes and having that deadline has given me that extra push to finish my projects.  
In this Glittery Garden Class by Donna Salazaar, we created a Girlie Grunge mini that shows off different techniques to make a glittery garden.


Page 8  Page 8 Big Bunched Up Blossom

Page 7 3-2-1 Cupped Flowers with Double The Fun Embellies


Page 6 Mixed Media Flowers with Ruffled Lacey Journal Spot 


Page 5 Cute As A Cupcake Flowers with Easy Peasy Flowers


Page 4 Easy Inky-Painty Carnations 


Page 3 Super Chunky Rolled Roses with a Paper Ruffle (Coffee Filter and Crete Paper Flowers)


Page 2 Running Stitch Rosettes 


Page 1 EFG Flowers Emboss & Fairydust Glitter and Easy Peasy Glittery Flowers


Cover Page techniques  Double Butterfly  Shabby-It


Recipe:
-Artistic Paper “Blank Canvas”
-Artistic Paper “Antiquities 6x6” and “Spring In Bloom 6x6”
-Artistic Paper “Journal Cards”
-Antiquities Ribbons
 -Crafty Chronicle Vol. 2
-Spellbinders (Labels Twenty , Lacey Ovals, Donna Salazar’s- -Creative Pages, Fanciful Flight, Rose Creations, and  Carnation Creations)
-Smooch Spritz (River Mossy , Caramel Latte, Green Olive, Sea Breeze , Pralines & Cream , Mixed Berries , Tea Party,  Ice rink, Wild Berries, Cashmere and Evergreen)
-Glue Gloss
-Fairy Dust Glitters (Sugar Shimmer , Pralines & Cream ,Mixed Berries)
-Coffee Filters
-White Crepe Paper Streamers
-White Paper Cupcake Liners
-Ribbon Flowers
-Pearl String
-Tulle
-Variety of Mix’d Media Inx, pigment ink and chalk inks
-White and Clear embossing pads
-Distrezz-it-All


I hope you enjoy.  If you have any question send me a quick email
~~Netta~~

Friday, June 10, 2011

Artsy Fartsy Class


On this 6 week journey I learned a bunch of Artsy-Fartsy, Girlie-Grunge, techniques. I made a book that is 6.5 x 6 with a 5 inch base (because the techniques are so chunky that the book sits like a triangle). We created the last page first and builded on the book.

Fanciful Flights and Rose Creations Spellbinder dies made from the  Crafty Chronicle completely.  Tags made from Crafty Chronicles quotes.  Lots of spritzing and inking in this project.  I made pin charms and used my copic markers to match the color scheme.  **Picture Heavy**


Page 1 - Shabby Chic Double Butterfly
Page 2 - Scrappy Twisty Tag Slip
Page 3 - Structured Flowers 3-2-1
Page 4 - Drippy Decoupage
Page 5- Easy Peasy Teensy Flowers
Page 6 - Mini Me
Page 7 - Bunches of Blooms Pocket
Page 8 - Mixed Media
Page 9 - Straight Strip Slip 
Page 10 - Big Blooms
Copic Pin Charms
Pin Charms
Side View
Side View

Stay tune for more projects this week.   

Thank you for stopping by
~~Netta~~

Thursday, June 9, 2011

Compatibles Class


I am finishing a couple classes at My Creative Classroom, and I wanted to share a few of my finished projects.  I am taking Donna Salazaar “Compatibles and Artsy Fartsy” class.  Here are the finish project of weeks 1 and 4.  There is a slight hiccup for weeks 2,3 and 5, we are still waiting on stamps to complete the projects.  

Week 1-an 8x8 layout from 1-12x12 piece of paper called a One Sheet Wonderful that is "Compatible" with Spellbinder dies.  “Imagine” the possibilities, I used my son’s (Antoney) senior pictures.  I am finishing up his scrapbook.  I absolutely love this picture my Antoney


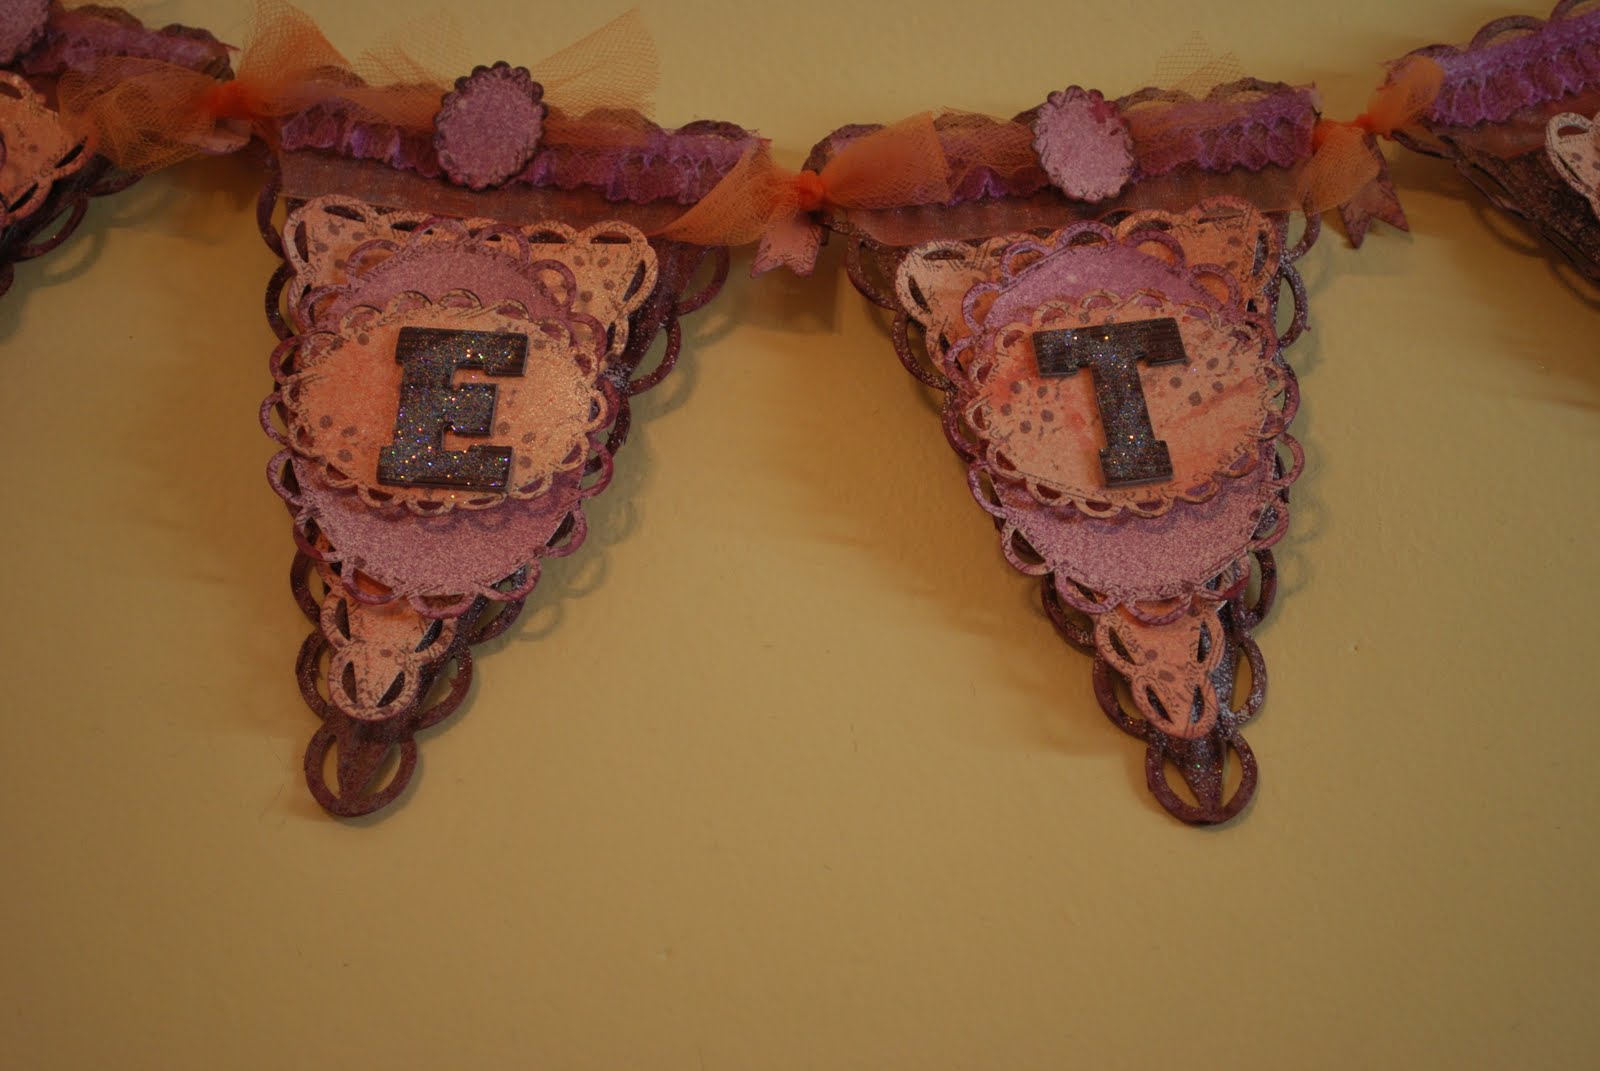
Week 4: “Girlie”Artsy “NETTA” banner using my Artistic papers that are "Compatible" with Lacey Ovals and Lacey Pennant Spellbinder dies, Smooch Spritz Praline & Cream, Wine Berry, Tea Party, and Wild Berry. Wood Grain letters “NETTA” sprinkled with Wild Berry Fairy Dust. Lots of lace, ribbon and tulle..very “Girlie”

CLOSEUP


Stay tune for more projects this week.   
Thank you for stopping by
~~Netta~~

Tuesday, April 12, 2011

Magical Inky Techniques

I am excited to reveal my final project of the Magical Inky Techniques class with Donna Salazar's at My Creative Class.


Magical Inky Techniques was an 4 week Session teaching various inking, embossing, Smooch Spritzin’ and glittering techniques using  Donna Salazar and Clearsnap products.

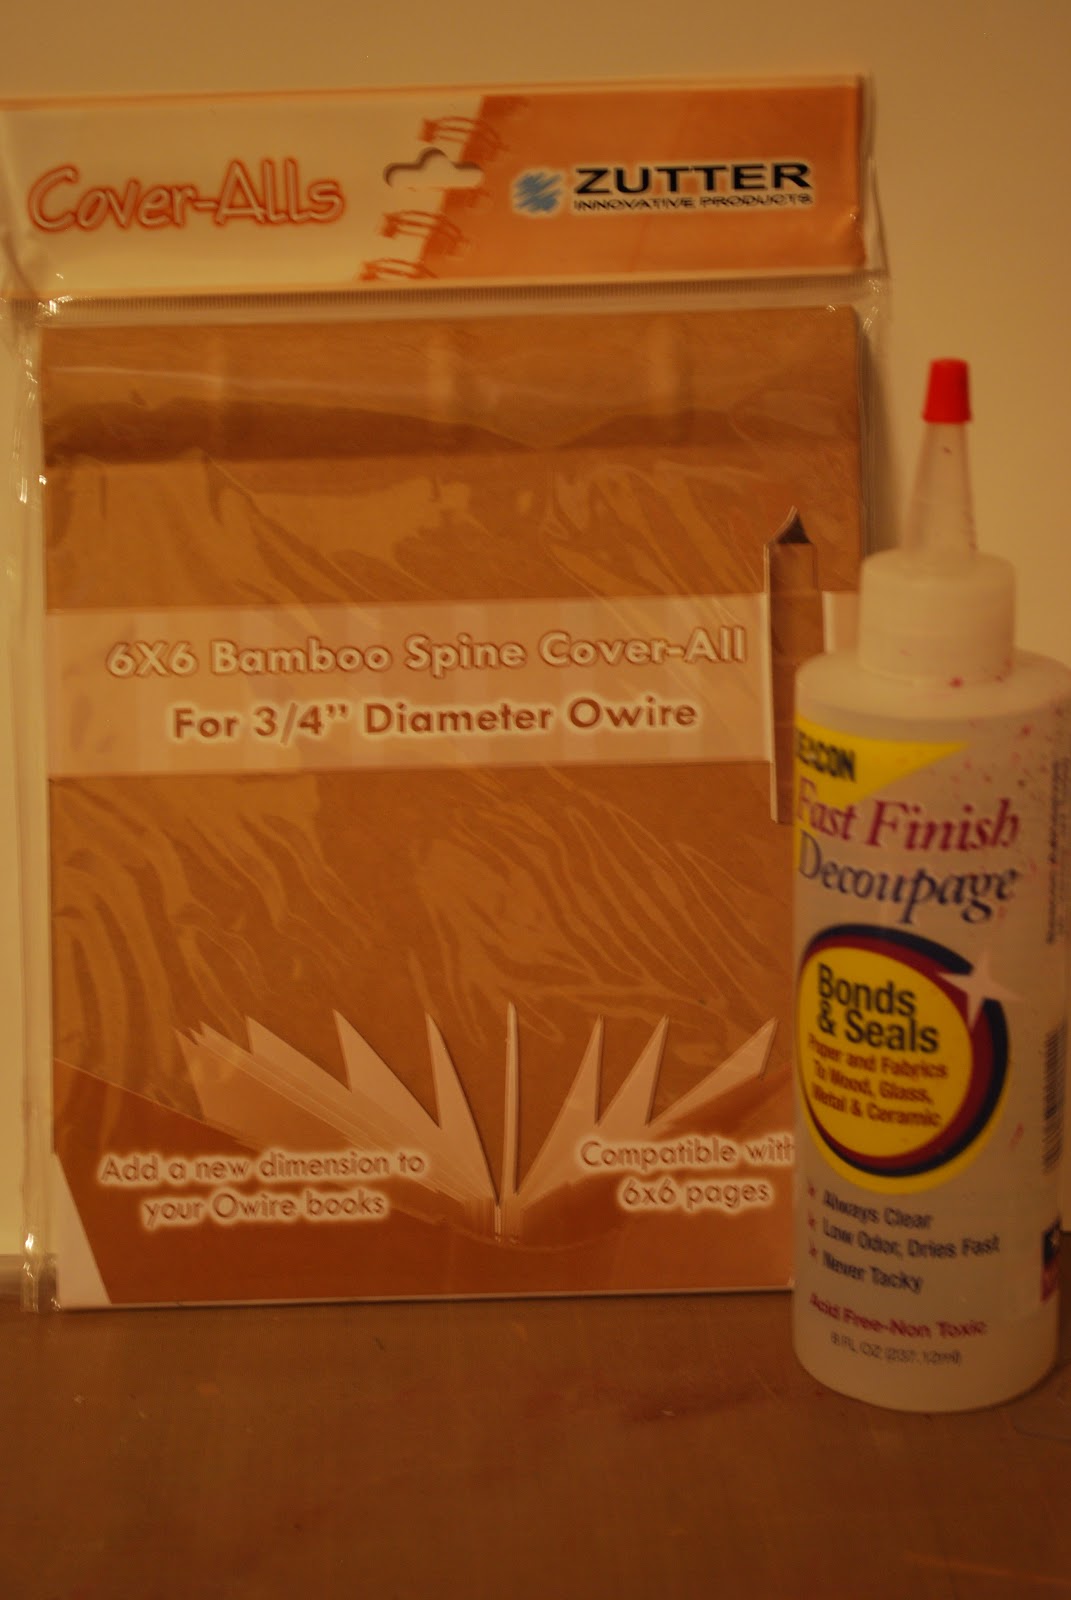
To prepare for this project, I used a Donna Salazar Kit and Crafty Chronicles, varierty of Smooch Spritzin, Smooch ink, color catcher, chalk eye fluid inks, embossing powders, stamps, spellbinders, Beacon's fast finish decoupage and paint brush

I die-cut Donna Salazar Crafty Chronicles to create my paper flowers and scrolls.  Then smooch spritz (caramel latte, praline &cream, tea party, cosmic pink mixed berry, wine berry and sea breeze) the cut outs.


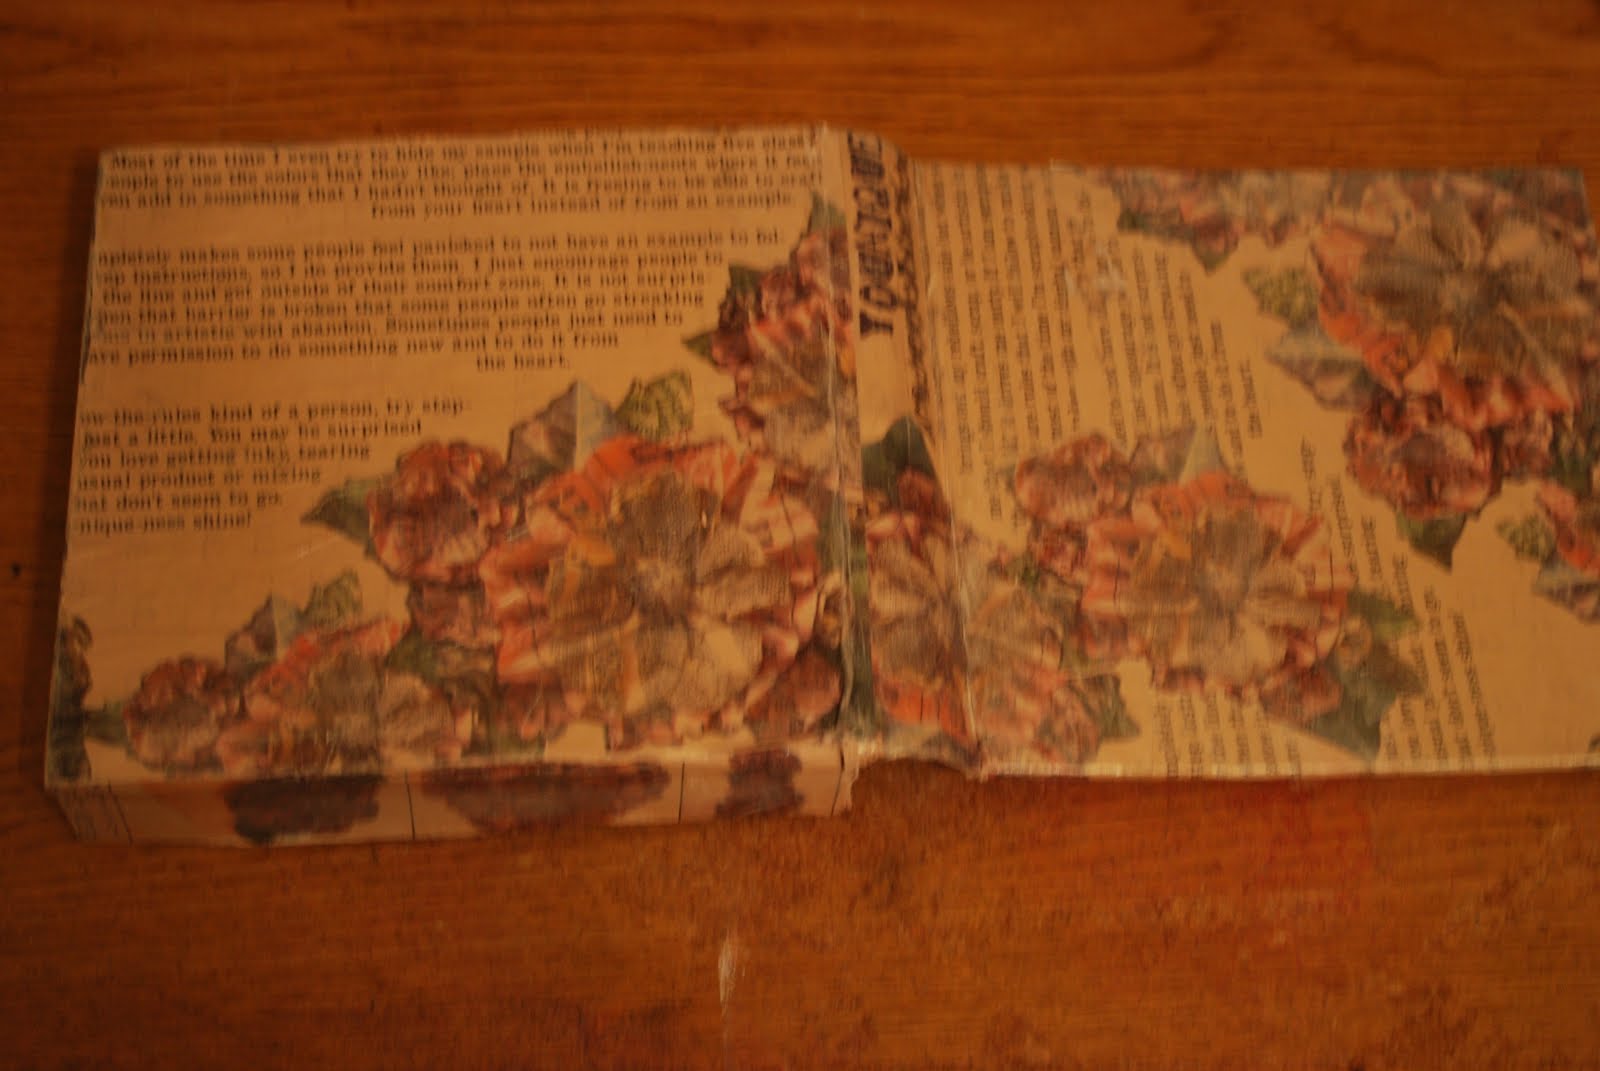
Converted the cover-all into a box. Decoupaged  the box with the crafty chronicles and used a dry paint brush to add a light layer of acrylic paint (metalic ivory)

Front cover
 

Insideof converted box

Outside of convered box
Now on to the tags using various inking, embossing, Smooch Spritzin’ and glittering techniques
Magical Mixture


Monochrome stamping

Glue Gloss Stamping

Double Emboss Resist

Spooky Stamping

Sparkly Speckly Spritz


Smooch Ink Paint, then Stamp and Stamp
and Stamp

Stained Glass Embossing

Smooch Embossed Edges

Roll with it

Distressed Wood

Soft & Serene


Bind-it project layer 1

Bind-it project layer 2

Bind-it project layer 3


Bind-it project layer 4


Additional newspaper flower


I hope you enjoyed my project, if you have any questions about the techniques or colors used leave me a comment and I will get back to you.
~~Netta~~

My Creations

LinkWithin

Related Posts Plugin for WordPress, Blogger...